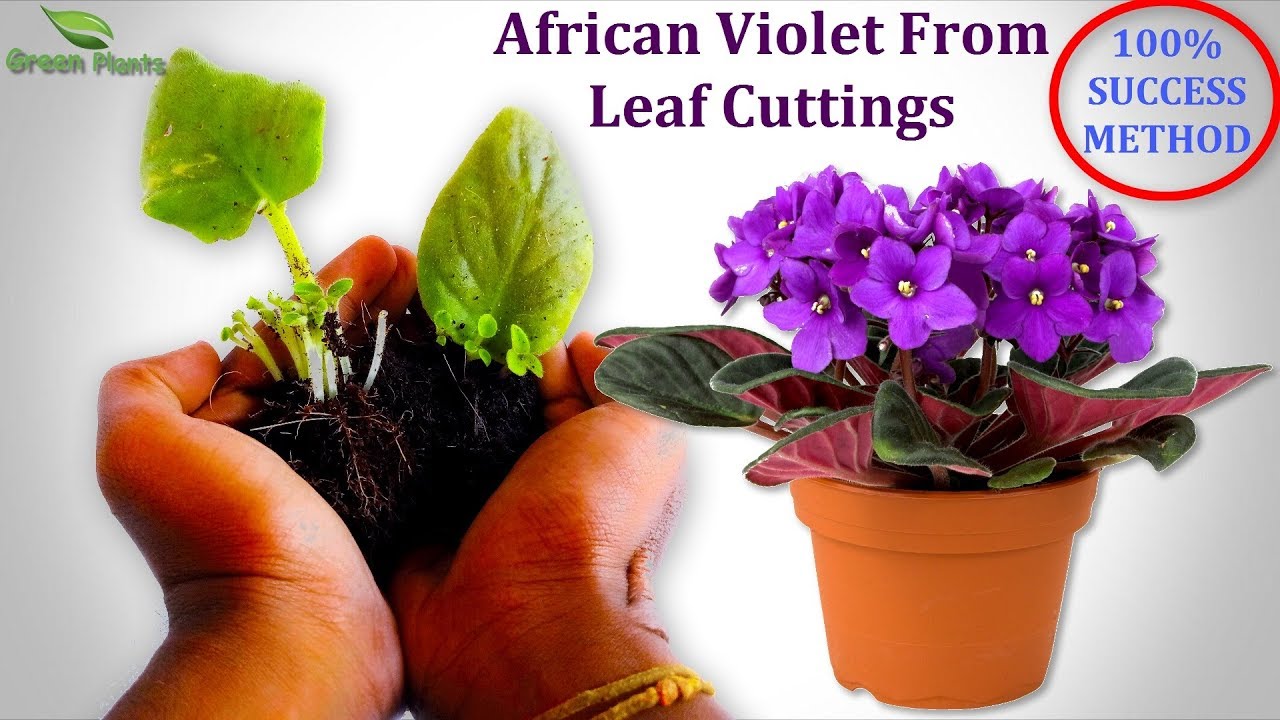
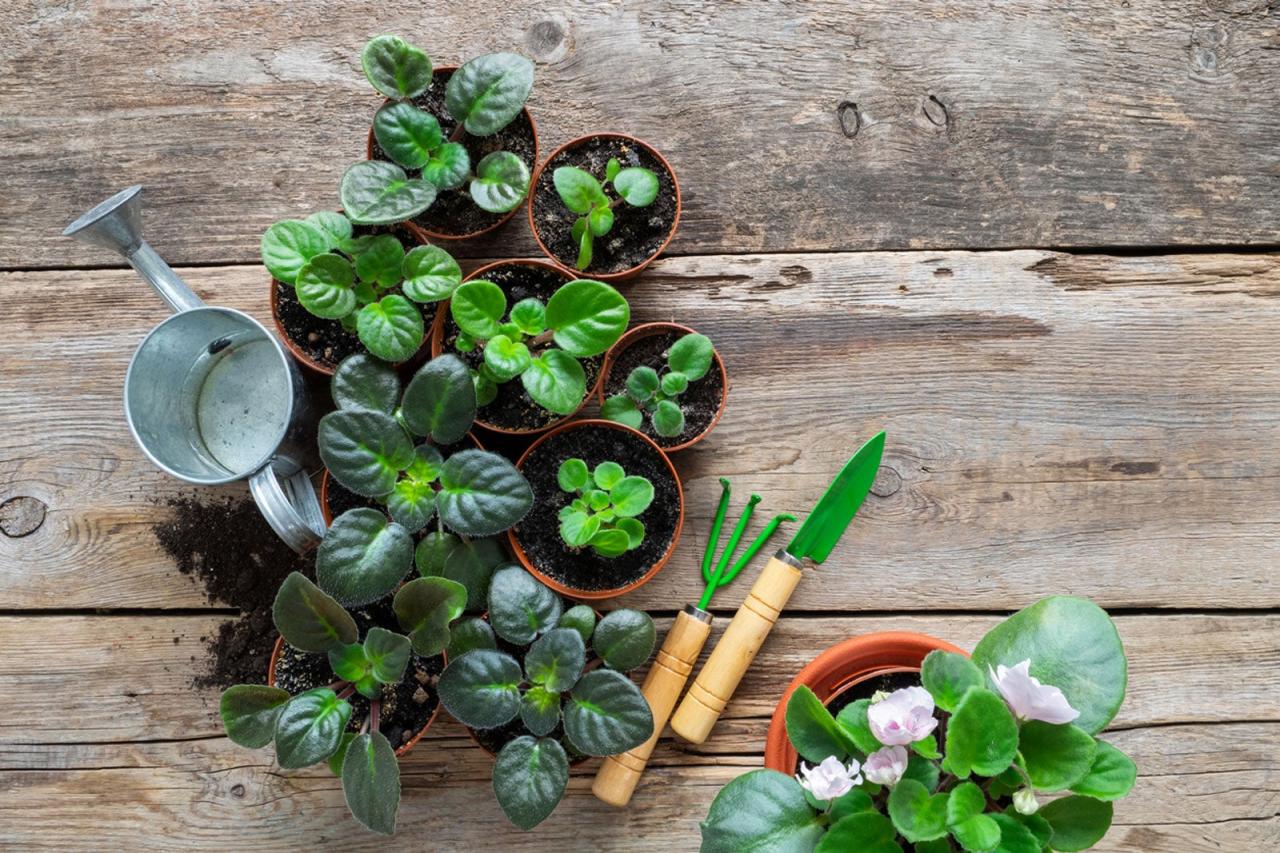
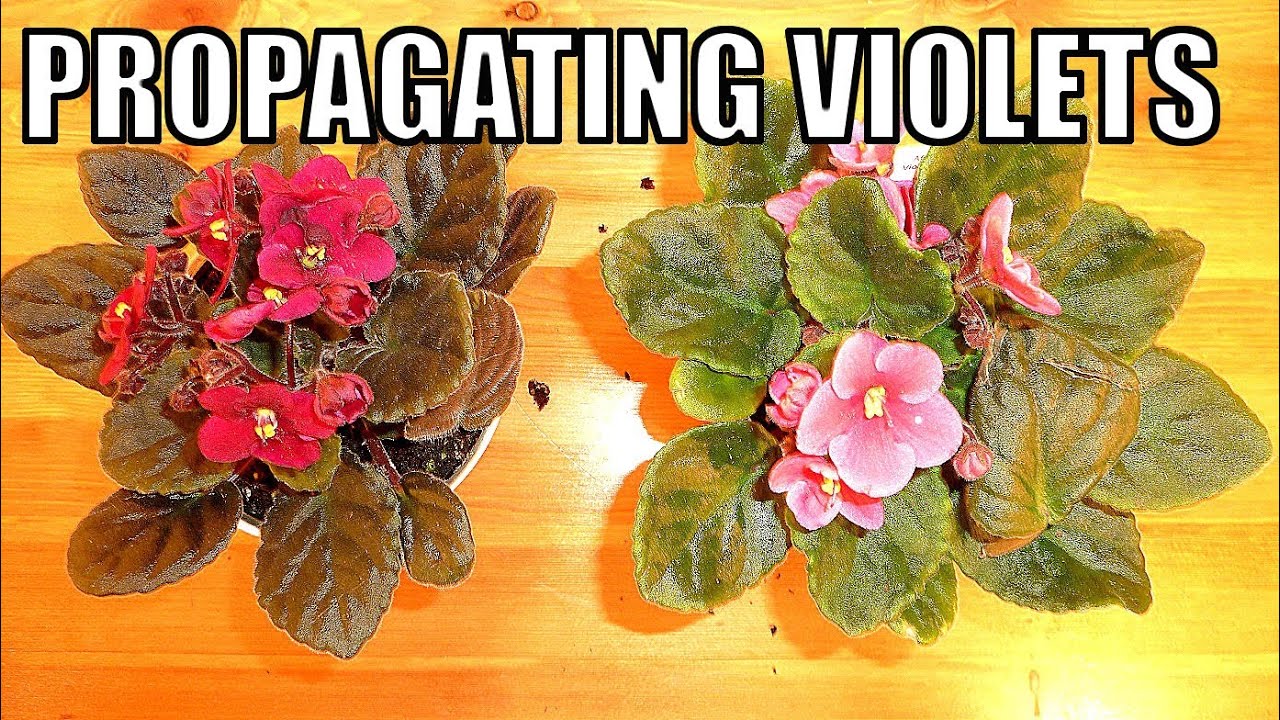
How to Root African Violet Leaves: A Foolproof Method – African violets, with their delicate blooms and velvety leaves, are beloved houseplants. But did you know you can easily propagate new plants from just a single leaf? This method, known as leaf propagation, is a rewarding and simple way to expand your collection or share these beauties with friends.
Let’s explore the steps involved in this process, ensuring success with every leaf you root.
The key to success lies in understanding the basics of African violet leaf propagation. Sterility and cleanliness are paramount, as they prevent infections and promote healthy root development. Choosing the right leaf is crucial, and knowing how to prepare it for rooting will set the stage for success.
We’ll delve into the most popular methods: water propagation and soil propagation, comparing their effectiveness and ease of use. Finally, we’ll cover the essential care needed to ensure your rooted leaves thrive and develop into beautiful new plants.
Introduction: How To Root African Violet Leaves: A Foolproof Method
African violet leaf propagation is a simple and effective method for multiplying your collection of these beloved houseplants. This technique involves taking a leaf from a healthy African violet plant and encouraging it to develop roots, ultimately forming a new plant.
Rooting African violet leaves offers numerous benefits, including:* Creating new plants without spending money on new ones.This is especially advantageous for those with limited budgets or who want to expand their collection without incurring additional costs.
- Preserving valuable cultivars.Rooting allows you to create identical copies of your favorite African violet varieties, ensuring that their unique traits are passed on to future generations.
- Renewing old plants.If your African violet has become leggy or has lost its vigor, you can use leaf propagation to start fresh with a new, healthy plant.
Importance of Sterility and Cleanliness
Maintaining a sterile and clean environment is crucial when rooting African violet leaves. This helps to prevent the introduction of harmful bacteria, fungi, or other microorganisms that could hinder root development or lead to disease. To ensure a sterile environment:* Use sterilized tools:Always sterilize your cutting tools (scissors or a sharp knife) with rubbing alcohol before and after each use.
Clean the growing medium
The rooting medium should be sterile and free of contaminants. You can sterilize it by microwaving it for a few minutes or by baking it in the oven.
Wash your hands
Wash your hands thoroughly with soap and water before handling the leaves or the rooting medium.
Work in a clean area
Avoid working in dusty or dirty areas, as this could introduce contaminants to the rooting environment.
Selecting and Preparing the Leaf

Choosing the right leaf is crucial for successful African violet propagation. A healthy leaf will have a higher chance of producing roots and a new plant. Properly preparing the leaf ensures a smooth transition to its new rooting environment.
Leaf Selection
Selecting the right leaf for propagation is a critical step in ensuring success. Here are the characteristics of an ideal leaf:
- Healthy and Vigorous:Choose a leaf that is free from any signs of disease, pests, or damage. A healthy leaf will be firm, plump, and have a vibrant green color.
- Mature but Not Old:The leaf should be mature enough to have developed fully but not so old that it is starting to decline. A good indicator is the leaf’s size and texture. It should be relatively large and have a slightly leathery feel.
- Lower Leaf:Leaves lower on the plant are generally better for propagation than those at the top. This is because lower leaves tend to be more mature and have a higher concentration of growth hormones.
Leaf Cutting
To cut the leaf properly, follow these steps:
- Use Sharp Scissors or a Knife:A clean and sharp tool is essential for a clean cut. This minimizes damage to the leaf and reduces the risk of infection.
- Cut at the Base:Cut the leaf as close to the stem as possible, leaving a small portion of the stem attached. This ensures that the leaf has enough energy reserves to support root development.
- Angle the Cut:Cutting the leaf at a 45-degree angle increases the surface area for root development. This is particularly important for rooting mediums that are not very porous.
Leaf Preparation
Once the leaf is cut, prepare it for rooting by following these steps:
- Remove Excess Leaves:If the leaf has any smaller leaves or buds attached, remove them. These can compete with the main leaf for energy and resources, hindering root development.
- Trim the Petiole:The petiole is the stem of the leaf. Trim it to a length of about 1-2 inches. This encourages the leaf to focus its energy on root development rather than growing more foliage.
- Let the Leaf Dry:After trimming, allow the cut end of the leaf to dry for a few hours. This helps to seal the wound and prevents the leaf from rotting.
Rooting Methods
There are a few popular methods for rooting African violet leaves, each with its own advantages and disadvantages. The most common methods are water propagation and soil propagation.
Water Propagation
Water propagation is a simple and straightforward method that allows you to observe root development. It involves placing the leaf cutting in a glass of water and allowing the roots to grow.
- Materials:
- A clean glass or jar
- Distilled or filtered water
- African violet leaf cutting
- Steps:
- Fill the glass or jar with distilled or filtered water. Avoid using tap water as it can contain minerals that may harm the leaf cutting.
- Place the leaf cutting in the water, ensuring that the base of the leaf is submerged, but the leaves are above the waterline.
- Change the water every few days to prevent bacterial growth and keep the water fresh.
- Place the glass in a bright, indirect light location.
- After a few weeks, roots should begin to appear. Once the roots are a few inches long, you can transfer the cutting to a pot with African violet potting mix.
Soil Propagation
Soil propagation involves directly planting the leaf cutting in African violet potting mix. This method offers a more direct route to establishing a rooted plant.
- Materials:
- African violet potting mix
- Small pot
- African violet leaf cutting
- Steps:
- Fill the pot with African violet potting mix, leaving about an inch of space at the top.
- Make a small hole in the center of the potting mix, deep enough to accommodate the leaf cutting.
- Place the leaf cutting in the hole, ensuring that the base of the leaf is covered with potting mix.
- Gently press the potting mix around the base of the leaf cutting to secure it in place.
- Water the potting mix thoroughly, allowing excess water to drain.
- Place the pot in a bright, indirect light location.
- Keep the potting mix consistently moist but not soggy.
- After a few weeks, new plantlets should emerge from the base of the leaf cutting.
Water Propagation
Water propagation is a straightforward method for rooting African violet leaves, offering a hands-off approach that allows you to observe root development. This method involves placing the leaf cutting in a clean water container, where it will develop roots over time.
Water Preparation and Container Selection
The water used for propagation should be clean and free of impurities. Distilled or filtered water is ideal, as tap water may contain minerals that can hinder root development. The container should be clean and transparent to allow for easy monitoring of the root growth.
A glass jar or a clear plastic container with a narrow opening is suitable.
Steps for Water Propagation
- Prepare the Leaf Cutting:Prepare the leaf cutting as described in the previous section. Ensure the cut end is clean and free of any debris.
- Fill the Container with Water:Fill the container with enough clean water to submerge the cut end of the leaf cutting, but not the entire leaf.
- Place the Leaf Cutting:Gently place the prepared leaf cutting into the container, ensuring the cut end is submerged in the water.
- Position the Container:Place the container in a well-lit location, but avoid direct sunlight, which can overheat the water and damage the leaf cutting.
- Change the Water Regularly:Replace the water every 2-3 days to prevent the growth of bacteria and algae.
- Monitor Root Development:Observe the leaf cutting regularly for signs of root development. Roots typically emerge within a few weeks, appearing as small, white, thread-like structures at the base of the leaf cutting.
Maintaining the Water and Monitoring Root Development
It is essential to maintain the water quality to promote healthy root development. Changing the water every 2-3 days helps prevent the buildup of bacteria and algae, which can hinder root growth. Additionally, monitor the leaf cutting for any signs of discoloration or wilting, which could indicate issues with the water quality or the health of the leaf cutting.
Once the roots are approximately 1 inch long, the leaf cutting is ready to be transplanted into a potting mix.
Soil Propagation

Soil propagation is a popular method for rooting African violet leaves, offering a more hands-off approach compared to water propagation. It involves planting the leaf directly into a suitable soil mixture, allowing the roots to develop within the medium.
Preparing the Soil and Container
The success of soil propagation relies heavily on selecting the right soil and container. A well-draining, airy soil mix is crucial for optimal root development.
- Soil Composition:A mixture of equal parts peat moss, perlite, and vermiculite provides excellent drainage and aeration, essential for healthy root growth.
- Container Selection:Opt for a small pot with drainage holes to prevent waterlogging. A 4-inch pot is ideal for a single leaf cutting.
- Sterilization:Before planting, sterilize the soil and container by microwaving the soil for a few minutes or baking it in the oven at a low temperature. This helps prevent fungal diseases and ensures a clean environment for root development.
Planting the Leaf Cutting
Once the soil and container are ready, carefully plant the leaf cutting.
- Create a Hole:Use a pencil or your finger to make a hole in the center of the soil, about 1 inch deep.
- Insert the Leaf:Gently insert the leaf cutting into the hole, ensuring that the base of the leaf is buried in the soil. The leaf should be positioned at a slight angle, with the petiole (the stem connecting the leaf to the plant) facing downwards.
- Firm the Soil:Lightly pat the soil around the leaf cutting to secure it in place. Do not pack the soil tightly, as this can restrict root growth.
Maintaining Soil Moisture and Providing Lighting
After planting, maintaining consistent moisture levels is essential for root development.
- Watering:Water the soil thoroughly after planting, ensuring the entire soil mixture is moistened. Avoid overwatering, as this can lead to root rot. Water again only when the top inch of soil feels dry to the touch.
- Lighting:African violets prefer bright, indirect light. Avoid direct sunlight, which can scorch the leaves. Place the potted leaf cutting in a location that receives filtered sunlight or under a grow light.
- Humidity:African violets thrive in humid environments. To increase humidity, you can place the pot on a tray filled with pebbles and water, ensuring the bottom of the pot does not touch the water. Alternatively, you can mist the leaves regularly with water.
Caring for Rooted Leaves

Once your African violet leaves have developed healthy roots, it’s time to give them a permanent home in individual pots. This crucial step encourages independent growth and prevents overcrowding, ultimately leading to thriving, blooming plants.
Transplanting Rooted Leaves
Transplanting rooted leaves into individual pots is essential for their continued growth and development. This practice provides each leaf with ample space for its roots to spread, allowing for optimal nutrient uptake and water absorption. It also prevents overcrowding, which can lead to competition for resources and hinder overall plant health.
Choosing the Right Potting Mix and Container Size
The choice of potting mix and container size is critical for the success of your newly rooted African violet leaves. The potting mix should be specifically formulated for African violets, ensuring proper drainage and aeration while providing adequate nutrients.
- Potting Mix:A well-draining, airy potting mix is essential for African violets. Look for a mix specifically designed for African violets or other acid-loving plants. Avoid heavy, clay-based mixes that can retain too much moisture and lead to root rot.
- Container Size:The container size should be proportionate to the size of the rooted leaf. A small pot, about 4 inches in diameter, is generally sufficient for a single leaf. Avoid using pots that are too large, as this can lead to overwatering and root problems.
Watering Rooted Leaves, How to Root African Violet Leaves: A Foolproof Method
Proper watering is crucial for the health of your newly rooted African violet leaves. It is important to allow the soil to dry slightly between waterings to prevent root rot.
- Watering Frequency:The frequency of watering will depend on factors such as the size of the pot, the type of potting mix, and the ambient temperature and humidity. As a general rule, water when the top inch of soil feels dry to the touch.
- Watering Technique:Water thoroughly, ensuring that the entire root ball is moistened. However, avoid overwatering, as this can lead to root rot.
- Water Quality:Use lukewarm, filtered water or rainwater for watering your African violets. Avoid using tap water, which may contain chlorine and other minerals that can be harmful to the plants.
Fertilizing Rooted Leaves
Once your rooted African violet leaves have established themselves in their new pots, you can begin fertilizing them to promote growth and flowering.
- Fertilizer Type:Use a balanced, water-soluble fertilizer specifically formulated for African violets. Avoid using fertilizers that are high in nitrogen, as this can lead to excessive foliage growth at the expense of flowering.
- Fertilization Frequency:Fertilize your African violets every 2-3 weeks during the growing season (spring and summer). Reduce fertilization frequency during the dormant period (fall and winter).
- Fertilizer Application:Dilute the fertilizer according to the manufacturer’s instructions. Apply the fertilizer to the soil, avoiding contact with the leaves.
Providing Light for Rooted Leaves
African violets thrive in bright, indirect light. Avoid exposing them to direct sunlight, which can scorch their delicate leaves.
- Light Intensity:African violets need bright, indirect light for optimal growth. A south-facing window is ideal, but avoid placing them directly in the sun’s path.
- Light Duration:African violets require at least 6-8 hours of bright, indirect light per day. If your home doesn’t receive enough natural light, consider using artificial grow lights.
Troubleshooting
Even with the best care, African violet leaf propagation can sometimes encounter challenges. This section covers common problems and their solutions, ensuring a successful journey to new plants.
Leaf Rot
Leaf rot is a common problem that can occur during propagation. It is usually caused by excess moisture or poor drainage.
- Symptoms: The leaf will become soft and mushy, and may turn brown or black. A foul odor may be present.
- Prevention: Use well-draining potting mix, avoid overwatering, and ensure good air circulation around the leaves.
- Treatment: If you notice signs of rot, remove the affected portion of the leaf immediately. If the entire leaf is affected, discard it to prevent the spread of rot to other leaves. You can also try using a fungicide to prevent further rot.
Slow Growth
Slow growth can be caused by a variety of factors, including insufficient light, low humidity, or poor nutrition.
- Symptoms: The leaf may not produce roots or new growth for an extended period.
- Prevention: Provide bright, indirect light, maintain high humidity, and use a well-balanced fertilizer.
- Treatment: Increase the light exposure, consider using a humidifier or placing the leaves in a humid environment, and fertilize with a diluted solution. Patience is key, as some leaves may take several months to root and grow.
Lack of Rooting
Sometimes, African violet leaves may fail to root despite proper care.
- Symptoms: The leaf remains unchanged for weeks or months, without any signs of root development.
- Prevention: Use sharp, clean tools to cut the leaves, and ensure the rooting medium is moist but not soggy.
- Treatment: If the leaf is not showing any signs of rooting after several months, it may be time to try a different propagation method or start with a new leaf.
Conclusion
Propagating African violets from leaves is a rewarding and accessible way to expand your collection or share these beautiful plants with others. This method offers the advantage of producing multiple new plants from a single leaf, ensuring the preservation of cherished varieties and fostering a sense of connection with the plant’s lineage.By following the steps Artikeld in this guide, you can increase your chances of success and enjoy the satisfaction of witnessing new life emerge from a simple leaf.
Propagating African violets from leaves is a rewarding experience, offering a chance to expand your collection without spending a fortune. Just as you can carefully shape and train a Bonsai tree, you can nurture these cuttings to develop into vibrant, blooming plants.
With the right technique, you can enjoy the beauty of these delicate flowers year after year, all from a single leaf.
Remember, patience is key, as the process can take several weeks or even months.
Benefits of Leaf Propagation
Leaf propagation offers several advantages over other methods, making it a popular choice for African violet enthusiasts:
- Simplicity: Leaf propagation is a relatively straightforward process that requires minimal specialized equipment or skills.
- Efficiency: A single leaf can produce multiple new plants, making it an efficient way to multiply your collection.
- Cost-effectiveness: Leaf propagation is an economical way to obtain new African violet plants without having to purchase them.
- Preservation of Varieties: This method ensures that the genetic traits of the parent plant are preserved in the offspring.
Last Word
By following these simple steps, you can successfully root African violet leaves and enjoy the satisfaction of nurturing new life. Remember, the journey of propagation is as rewarding as the final outcome. Experiment with different methods, embrace the learning process, and watch your African violet collection flourish.
Soon, you’ll be sharing your knowledge and cuttings with others, spreading the joy of these enchanting plants.
FAQs
Can I root African violet leaves in water year-round?
Yes, you can root African violet leaves in water year-round, but optimal conditions are warmer temperatures and good lighting.
What if my leaf doesn’t root after a few weeks?
Patience is key. It can take several weeks or even months for some leaves to root. Ensure proper conditions and keep an eye on the leaf for any signs of rot.
How often should I fertilize newly rooted African violets?
Once the plants are established, fertilize them every 2-4 weeks with a balanced liquid fertilizer diluted to half strength.

