
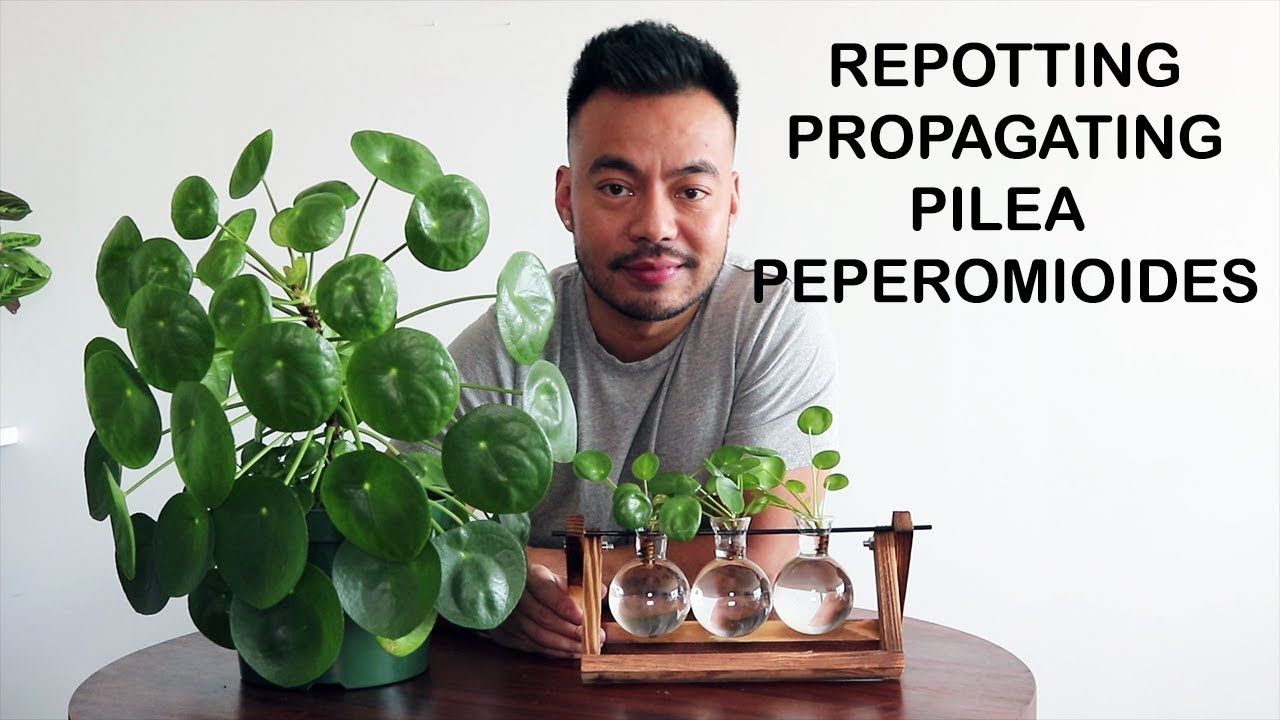
Master the Art: How To Propagate Pilea Like a Pro! – Pilea, often affectionately called the “friendship plant,” has captured the hearts of plant enthusiasts worldwide. Its charming, rounded leaves and easy-going nature make it a popular choice for homes and offices.
But did you know that Pilea is incredibly easy to propagate, allowing you to share its beauty with friends or expand your own plant collection?
This comprehensive guide will walk you through the different methods of Pilea propagation, from leaf cuttings to stem cuttings and division, equipping you with the knowledge to become a Pilea propagation pro. We’ll delve into the intricacies of each technique, providing step-by-step instructions and tips for success.
By the end, you’ll be confident in your ability to create new Pilea plants, nurturing their growth from start to finish.
Introduction: Master The Art: How To Propagate Pilea Like A Pro!
Pilea, a genus of flowering plants, has gained immense popularity in recent years, becoming a beloved staple in many homes. This surge in popularity is attributed to the plant’s unique characteristics, which make it an ideal choice for both novice and experienced plant enthusiasts.
Pilea’s appeal stems from its low-maintenance nature, striking appearance, and ease of propagation. This makes it a perfect plant for those seeking to add a touch of greenery to their living spaces without requiring extensive care.
Mastering the art of propagating Pilea involves understanding the plant’s needs and utilizing techniques that encourage growth. Just as you can easily propagate sage for a flavorful garden, Transform Your Garden: How To Propagate Sage for Beautiful and Flavorful Plants , Pilea thrives with similar methods, such as taking stem cuttings or dividing mature plants.
With patience and a little know-how, you’ll soon be enjoying a flourishing collection of these charming plants.
Pilea’s Unique Characteristics
Pilea plants possess several distinct features that contribute to their popularity:
- Distinctive foliage:Pilea varieties boast a wide range of leaf shapes and colors, from the iconic, rounded leaves of the Pilea peperomioides (“Chinese Money Plant”) to the vibrant, patterned leaves of the Pilea cadierei (“Aluminum Plant”).
- Compact size:Many Pilea species remain relatively small, making them suitable for various indoor spaces, including shelves, windowsills, and desks. This compact size also makes them perfect for creating miniature gardens or terrariums.
- Easy propagation:Pilea plants are known for their ease of propagation. They can be readily multiplied through leaf cuttings, stem cuttings, or even by dividing the plant. This allows enthusiasts to easily share their plants with friends and family, contributing to Pilea’s nickname, “the friendship plant.”
Pilea as “The Friendship Plant”
Pilea’s nickname, “the friendship plant,” reflects its inherent connection to sharing and community. The ease of propagation makes it simple to share these plants with loved ones, fostering a sense of connection and shared joy. The act of gifting a Pilea cutting or a new plant symbolizes a gesture of friendship and care, creating a tangible link between individuals.
This sentiment has contributed significantly to the plant’s popularity, making it a symbol of connection and shared appreciation for the natural world.
Understanding Pilea Propagation Methods
Pilea propagation is a rewarding and accessible way to expand your plant collection. These popular houseplants are known for their ease of propagation, making them ideal for beginners and experienced plant enthusiasts alike. Several methods are commonly used to propagate Pilea, each with its own advantages and disadvantages.
Understanding these methods will help you choose the best approach for your needs and increase your chances of success.
Pilea Propagation Methods
Pilea propagation typically involves using cuttings or division to create new plants. These methods are relatively straightforward and can be successfully implemented with a little patience and care.
- Leaf Cuttings:This method involves taking a healthy leaf and rooting it in a suitable medium. It is a popular choice for Pilea propagation because it is relatively simple and can produce multiple new plants from a single leaf.
- Stem Cuttings:This method involves taking a section of stem with at least one node (where leaves grow) and rooting it in a suitable medium. Stem cuttings are generally considered more reliable than leaf cuttings and can produce larger, healthier plants.
- Division:This method involves separating a mature Pilea plant into multiple smaller plants. It is a quick and easy way to increase your plant collection and is often used for Pilea species that grow in clumps.
Comparison of Pilea Propagation Methods
The effectiveness of different propagation methods can vary depending on the specific Pilea species and the growing conditions.
Method |
Pros |
Cons |
Timeframe |
|---|---|---|---|
Leaf Cuttings |
Simple, can produce multiple plants from a single leaf |
Lower success rate than stem cuttings, may take longer to root |
4-6 weeks |
Stem Cuttings |
Higher success rate than leaf cuttings, produce larger, healthier plants |
Requires more effort than leaf cuttings |
2-4 weeks |
Division |
Quick and easy, produces established plants |
Can be stressful for the parent plant, not suitable for all Pilea species |
Immediate |
Step-by-Step Guide to Leaf Cutting Propagation
Leaf cutting propagation is a popular and effective method for multiplying your Pilea collection. It’s a simple technique that even beginners can master with a little patience and care. This method involves taking a leaf from your existing Pilea plant and encouraging it to develop roots, ultimately forming a new plant.
Preparing the Leaf Cuttings, Master the Art: How To Propagate Pilea Like a Pro!
Selecting the right leaf is crucial for successful propagation. Choose healthy, mature leaves that are free from pests, diseases, and damage. Avoid using young, tender leaves, as they may not have enough energy to develop roots.
- Select a Healthy Leaf:Choose a healthy, mature leaf from your Pilea plant. The leaf should be free from any signs of disease or damage.
- Cut the Leaf:Using a sharp, sterilized knife or scissors, cut the leaf from the plant, leaving about 1-2 inches of stem attached.
- Remove Lower Leaves:Remove any lower leaves that will be submerged in the rooting medium.
Rooting the Leaf Cuttings
The success of leaf cutting propagation depends heavily on providing the ideal environment for root development. This includes maintaining optimal humidity, temperature, and lighting conditions.
- Prepare the Rooting Medium:Use a well-draining, sterile rooting medium, such as a mixture of peat moss and perlite or vermiculite.
- Insert the Cuttings:Gently insert the leaf cutting into the rooting medium, ensuring the stem is buried about half an inch deep.
- Maintain Humidity:Cover the pot with a clear plastic dome or bag to create a humid environment. This helps to prevent the cuttings from drying out.
- Provide Indirect Light:Place the pot in a bright, indirect light location, avoiding direct sunlight, which can scorch the delicate leaves.
- Maintain Temperature:The ideal temperature for rooting Pilea cuttings is between 70-75°F (21-24°C).
Caring for the Rooted Cuttings
Once the cuttings have developed roots, they will need to be transplanted into their own pots. This process involves transitioning them to a larger container with fresh potting mix, providing the necessary space and nutrients for healthy growth.
- Check for Root Development:After about 4-6 weeks, gently tug on the leaf cutting to check for resistance. If the cutting feels firmly rooted, it’s ready to be transplanted.
- Prepare a New Pot:Choose a small pot with drainage holes and fill it with a well-draining potting mix suitable for Pilea plants.
- Transplant the Cutting:Gently remove the rooted cutting from its original container and plant it in the new pot, ensuring the roots are spread out.
- Water Thoroughly:Water the newly transplanted cutting thoroughly, ensuring the entire root ball is moistened.
- Provide Optimal Conditions:Continue to provide the same optimal conditions as before, including bright, indirect light, consistent moisture, and a warm temperature.
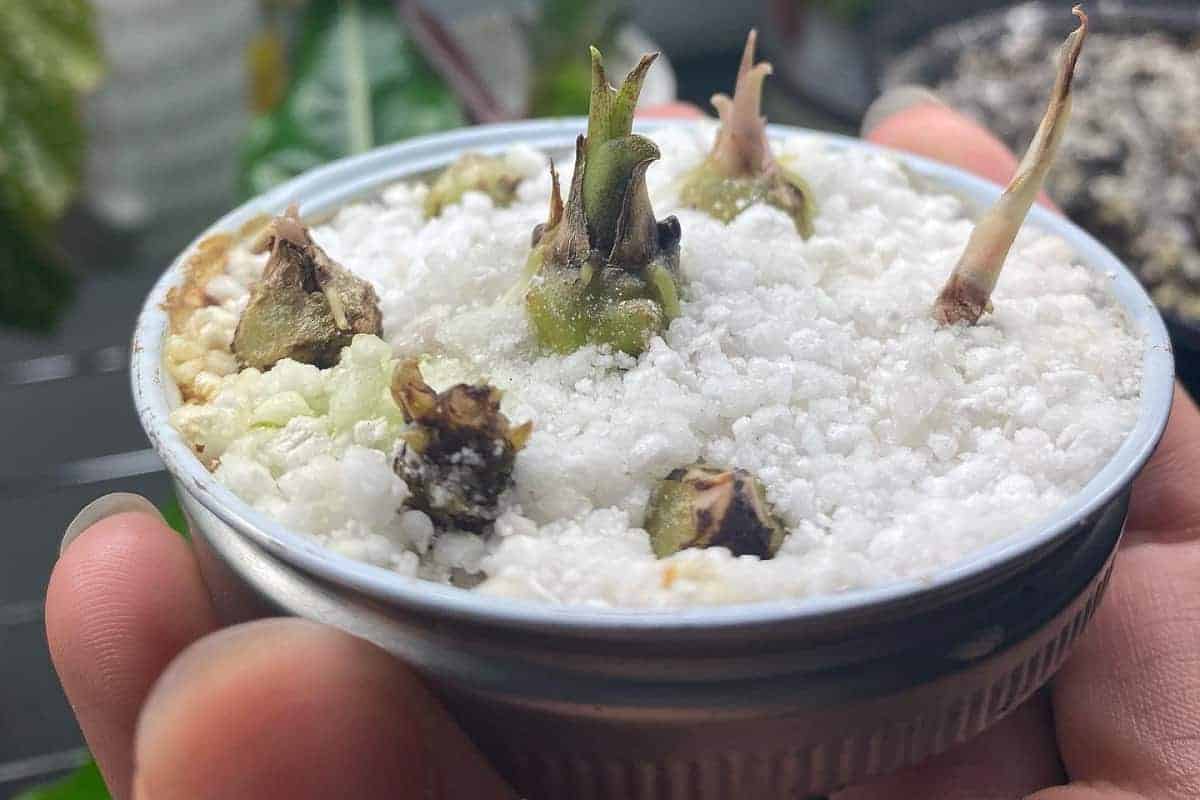
Stem Cutting Propagation
Stem cutting propagation is another effective method for multiplying your Pilea collection. This technique involves taking a section of a healthy stem, allowing it to develop roots, and then planting it to grow into a new plant. This method offers a slightly faster propagation time compared to leaf cuttings.
Taking Stem Cuttings
Before taking stem cuttings, select a healthy Pilea plant with vigorous growth. The best time to take cuttings is during the active growing season, typically spring and summer.
- Use a clean, sharp knife or pruning shears to make a cut just below a leaf node. A leaf node is the point on the stem where a leaf grows.
- Remove any leaves that will be submerged in the rooting medium, as they can rot and hinder root development.
- You can also use a rooting hormone to promote root growth, but it is not essential.
Preparing the Cuttings
Once you have taken your stem cuttings, it’s time to prepare them for planting. This involves creating the ideal environment for root development.
- Allow the cuttings to dry for a few hours, or overnight, to form a callous over the cut end. This helps prevent rot and promotes root growth.
- Prepare a suitable rooting medium. A mixture of peat moss and perlite, or a commercial rooting mix, provides good drainage and aeration for root development.
Planting Stem Cuttings
After preparing the cuttings and rooting medium, you are ready to plant them.
- Make a small hole in the rooting medium using a pencil or your finger.
- Insert the cut end of the stem cutting into the hole, ensuring that at least one node is buried in the medium.
- Gently firm the rooting medium around the cutting to provide support.
Maintaining Optimal Conditions
To ensure successful root development, it’s crucial to maintain optimal conditions for your stem cuttings.
Mastering the art of propagating Pilea involves understanding the plant’s needs and utilizing simple techniques. Similar to the propagation methods used for Pilea, you can also easily multiply your Syngonium collection by following the steps outlined in How To Propagate Syngonium: Secrets to a Flourishing Indoor Garden.
With a little patience and practice, you’ll be able to fill your home with lush, vibrant Pilea plants, transforming your space into a thriving indoor jungle.
- Place the cuttings in a warm, bright location, but avoid direct sunlight. A temperature range of 65-75°F (18-24°C) is ideal for root growth.
- Keep the rooting medium consistently moist, but not soggy. Overwatering can lead to root rot.
- Cover the cuttings with a plastic dome or a clear plastic bag to create a humid environment. This helps retain moisture and promotes root growth.
Tips for Successful Rooting
Following these tips can increase your chances of successful rooting of stem cuttings.
- Use a rooting hormone to promote root growth.
- Ensure the rooting medium is well-draining to prevent root rot.
- Maintain consistent moisture levels in the rooting medium.
- Avoid direct sunlight, which can scorch the cuttings.
- Be patient! It can take several weeks for roots to develop.
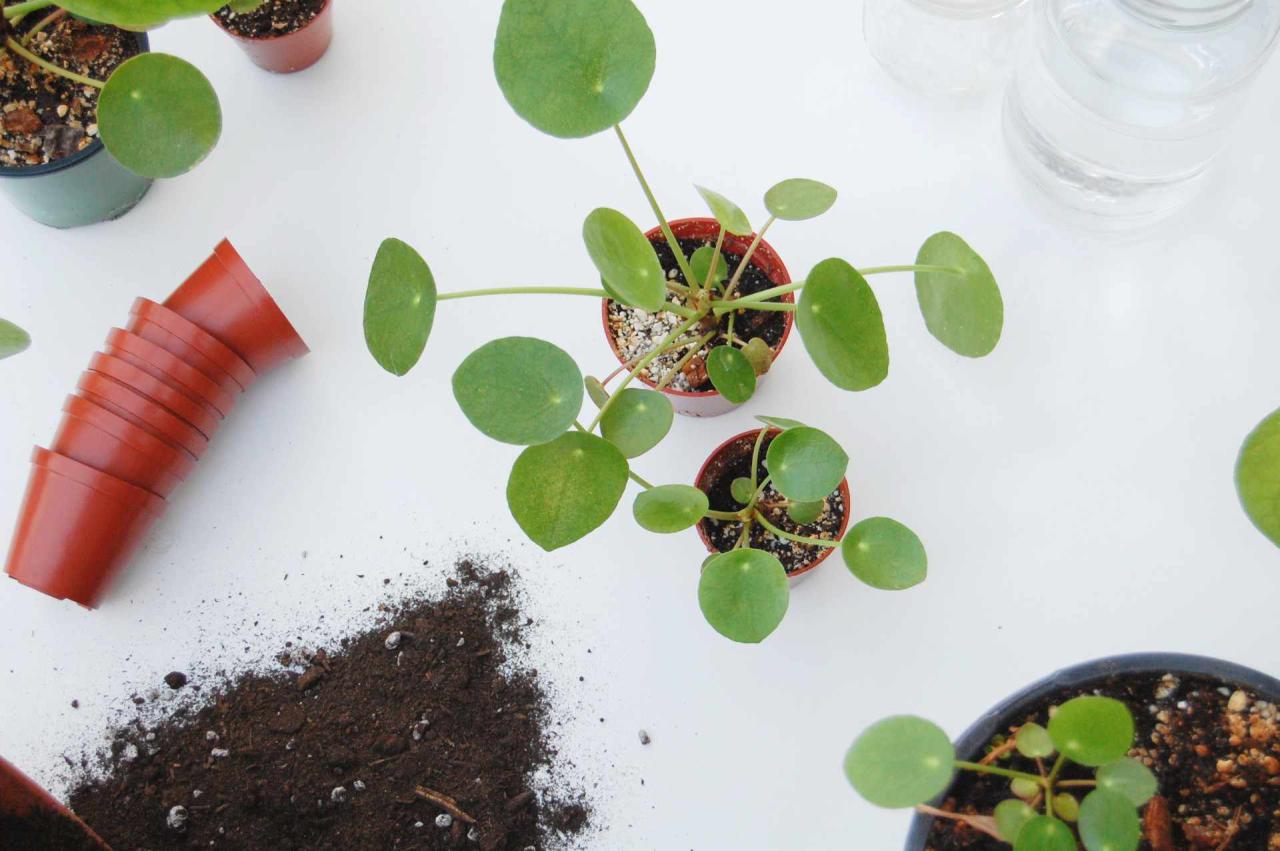
Division: Expanding Your Pilea Collection
Pilea division is a simple and effective method for increasing your Pilea collection. This technique involves separating a mature Pilea plant into multiple smaller plants, allowing you to enjoy the beauty of these vibrant foliage plants in different areas of your home or garden.
Dividing a Pilea Plant
Pilea division is best performed during the spring or early summer when the plant is actively growing. The process involves gently separating the root system of a mature Pilea plant, creating multiple independent plants. Here’s a step-by-step guide:
- Choose a mature Pilea plant:Select a healthy Pilea plant with a well-established root system. Look for a plant with multiple stems and a dense foliage.
- Remove the plant from its pot:Carefully remove the Pilea plant from its container, being mindful not to damage the roots. Gently loosen the soil around the roots to make them easier to separate.
- Separate the root system:Use your fingers or a sharp knife to carefully separate the root system into smaller sections. Each section should have at least one healthy stem and a good portion of roots.
- Repot the new plants:Plant each divided Pilea plant in its own pot filled with fresh, well-draining potting mix. Water the new plants thoroughly and place them in a bright, indirect light location.
Caring for Your Newly Propagated Pilea
Now that your Pilea cuttings have rooted, it’s time to nurture them into thriving plants. Providing the right care is crucial for their successful transition from propagation to their permanent homes. This section will cover essential care tips, focusing on light, water, and nutrients, along with recognizing signs of stress or disease.
We’ll also discuss transitioning your newly propagated Pilea to their permanent homes.
Light Requirements for Young Pilea
Newly propagated Pilea are delicate and require a gentle introduction to their new environment. While Pilea generally thrive in bright, indirect light, young plants are particularly susceptible to sun scorch. It’s best to start them in a location with bright, filtered light, such as near a window with a sheer curtain.
Avoid direct sunlight, especially during the hottest part of the day.
Watering Newly Rooted Pilea
Maintaining consistent moisture is vital for young Pilea, but overwatering can lead to root rot. The ideal watering frequency depends on several factors, including the type of potting mix, humidity levels, and ambient temperature. As a general rule, allow the top inch of soil to dry slightly between waterings.
Nutrient Needs of Young Pilea
While Pilea are not heavy feeders, providing them with essential nutrients during their initial growth phase is beneficial. Use a diluted, balanced liquid fertilizer specifically designed for houseplants, applying it once a month. Avoid overfertilizing, as it can damage delicate roots.
Recognizing Signs of Stress in Young Pilea
Young Pilea can be susceptible to stress, which can manifest in various ways. Be attentive to these signs:
- Wilting:This indicates insufficient water. Check the soil moisture and adjust watering accordingly.
- Yellowing Leaves:This can indicate overwatering, nutrient deficiencies, or inadequate light. Analyze the situation and make adjustments.
- Brown Leaf Tips:This usually indicates dry air or insufficient humidity. Consider increasing humidity by grouping plants together or using a humidifier.
- Leaf Drop:This can be caused by various factors, including overwatering, underwatering, extreme temperature fluctuations, or pests. Investigate the cause and address it promptly.
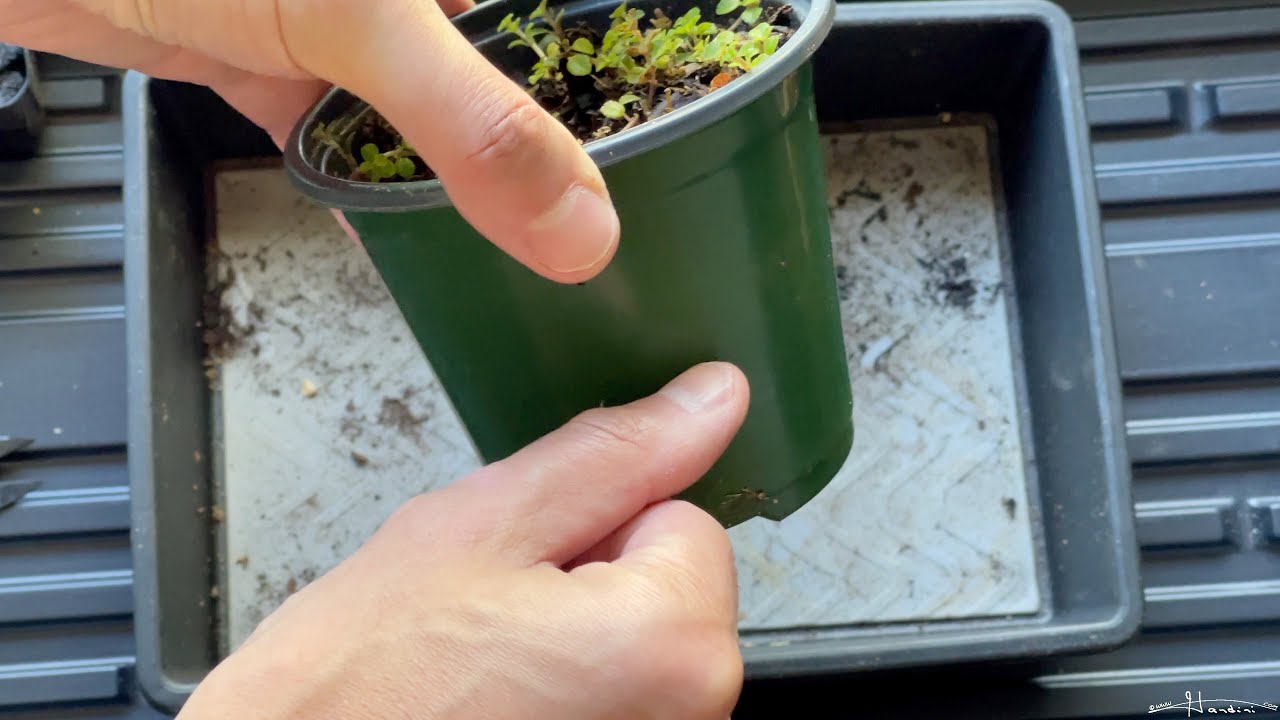
Transitioning to Permanent Homes
Once your Pilea cuttings have established a healthy root system and have shown signs of vigorous growth, it’s time to transplant them to their permanent homes. Select a pot that is slightly larger than the original propagation container. Use a well-draining potting mix specifically designed for houseplants.
Gently remove the cutting from its propagation container, ensuring minimal root disturbance. Place the cutting in the new pot, adding more potting mix as needed. Water thoroughly after transplanting.
Troubleshooting Common Propagation Challenges
While propagating Pilea is generally straightforward, you may encounter some challenges along the way. Understanding the common issues and their causes can help you prevent them or address them effectively.
Root Rot
Root rot is a common problem that can occur when the soil remains too wet for too long. This creates an environment where harmful bacteria and fungi thrive, damaging the roots.
- Symptoms:Wilting leaves, yellowing, and a mushy, foul-smelling root system.
- Causes:Overwatering, poor drainage, and using soil that retains too much moisture.
- Solutions:
- Repot the cutting in fresh, well-draining soil.
- Ensure the pot has drainage holes and use a pot with a saucer to collect excess water.
- Water only when the top inch of soil is dry.
- Prevention:Use a well-draining potting mix, ensure proper drainage, and water sparingly.
Leaf Drop
Leaf drop can occur due to various factors, including stress from environmental changes, pests, and diseases.
- Symptoms:Sudden loss of leaves, often starting from the lower leaves.
- Causes:Overwatering, underwatering, sudden changes in temperature, humidity, or light, pests, or fungal diseases.
- Solutions:
- Adjust watering practices to ensure the soil is consistently moist but not soggy.
- Provide consistent light and humidity levels.
- Inspect for pests and treat accordingly.
- If fungal disease is suspected, use a fungicide.
- Prevention:Provide consistent care, including proper watering, lighting, and humidity, and monitor for pests and diseases.
Slow Growth
Slow growth can be a sign of several issues, including inadequate light, nutrient deficiencies, or root problems.
- Symptoms:Slow or stunted growth, pale leaves, and lack of new growth.
- Causes:Insufficient light, lack of nutrients, root rot, or compacted soil.
- Solutions:
- Provide brighter light, ensuring at least 4 hours of indirect sunlight daily.
- Fertilize regularly with a balanced liquid fertilizer diluted to half strength.
- Repot in fresh, well-draining soil if root rot is suspected.
- Prevention:Provide optimal growing conditions, including adequate light, proper fertilization, and well-draining soil.
Troubleshooting Propagation Methods
- Leaf Cutting Propagation:
- Issue:Leaf cuttings not rooting.
- Cause:Insufficient humidity, poor drainage, or using old or damaged leaves.
- Solution:Increase humidity by using a humidity dome or placing the cutting in a plastic bag. Ensure the soil is well-draining and use healthy, mature leaves.
- Stem Cutting Propagation:
- Issue:Stem cuttings not rooting.
- Cause:Using too long or too short of cuttings, using old or damaged stems, or poor drainage.
- Solution:Use cuttings that are 2-3 inches long, with at least two nodes. Ensure the stem is healthy and free of damage. Use well-draining soil and ensure proper drainage.
- Division:
- Issue:Division not successful.
- Cause:Improper handling of the plant, damaging the roots, or not separating the divisions properly.
- Solution:Handle the plant carefully, avoid damaging the roots, and ensure each division has its own root system.
Concluding Remarks
Propagating Pilea is a rewarding experience, offering the joy of creating new life and expanding your plant family. Whether you choose leaf cuttings, stem cuttings, or division, the process is surprisingly simple and accessible. By following the guidelines Artikeld in this guide, you’ll be well on your way to mastering the art of Pilea propagation, cultivating a thriving collection of these delightful plants.
General Inquiries
What is the best time of year to propagate Pilea?
Spring and summer are ideal times for propagating Pilea, as the plant is actively growing and has more energy for rooting.
Can I use tap water to root my Pilea cuttings?
While tap water can be used temporarily, it’s best to use filtered or distilled water to avoid mineral buildup that can hinder root development.
What should I do if my Pilea cuttings are not rooting?
Check for factors like inadequate humidity, insufficient light, or improper watering. Adjust the conditions as needed and be patient, as rooting can sometimes take time.
